

First came the design process, for which I've been prepping for years! Hours of consistent practice, countless drafts and ideas, and then the somewhat tedious task of actually crafting the final draft and knowing when to say "ENOUGH!" to my own perfectionism!
I have been tossing around sketches and drafts of our wedding crest / monogram for a while... playing with how to make it properly symmetrical, how to incorporate floral as well as architectural elements, researching and incorporating filigree (which I found out is a black hole of mathematical precision and symmetry that I only dipped my toes into!). I finally settled on something much simpler than what my original designs entailed: classic and official, something that I felt like could withstand the test of time and wedding design-trends.

Next, I got to lettering. I first covered the less daunting task of all of the detail text... knowing that all of my imperfections would be shrunk immensely and just getting used to the feeling of writing something with finality. Rather than knowing that I would have another few months and hundreds of hours of practice, I had to write it out, look back and assess, and rewrite anything that looked out of place or unsuitable for the final draft: learning how to finish.
I then tackled the larger components: our names and the titles of each card for the suite. I chose a spaciously-flourished script based on the script that I had used for the smaller text. I wanted something that felt formal but not too pretentious, aesthetically pleasing but not hyper-feminine, classic but also my own.
After I'd settled on a draft that I was pleased with, I moved on to the crest / monogram! I took the final concept that I had landed on and completely redid the entire thing: measuring the proportions with great precision and aiming to find a method of achieving effortless symmetry. I sketched in pencil, traced in pen, and then retraced once more with a few alterations, before scanning my design in and manipulating it digitally. I vectored the image, and then converted it back to a high-quality image file to put it to use!
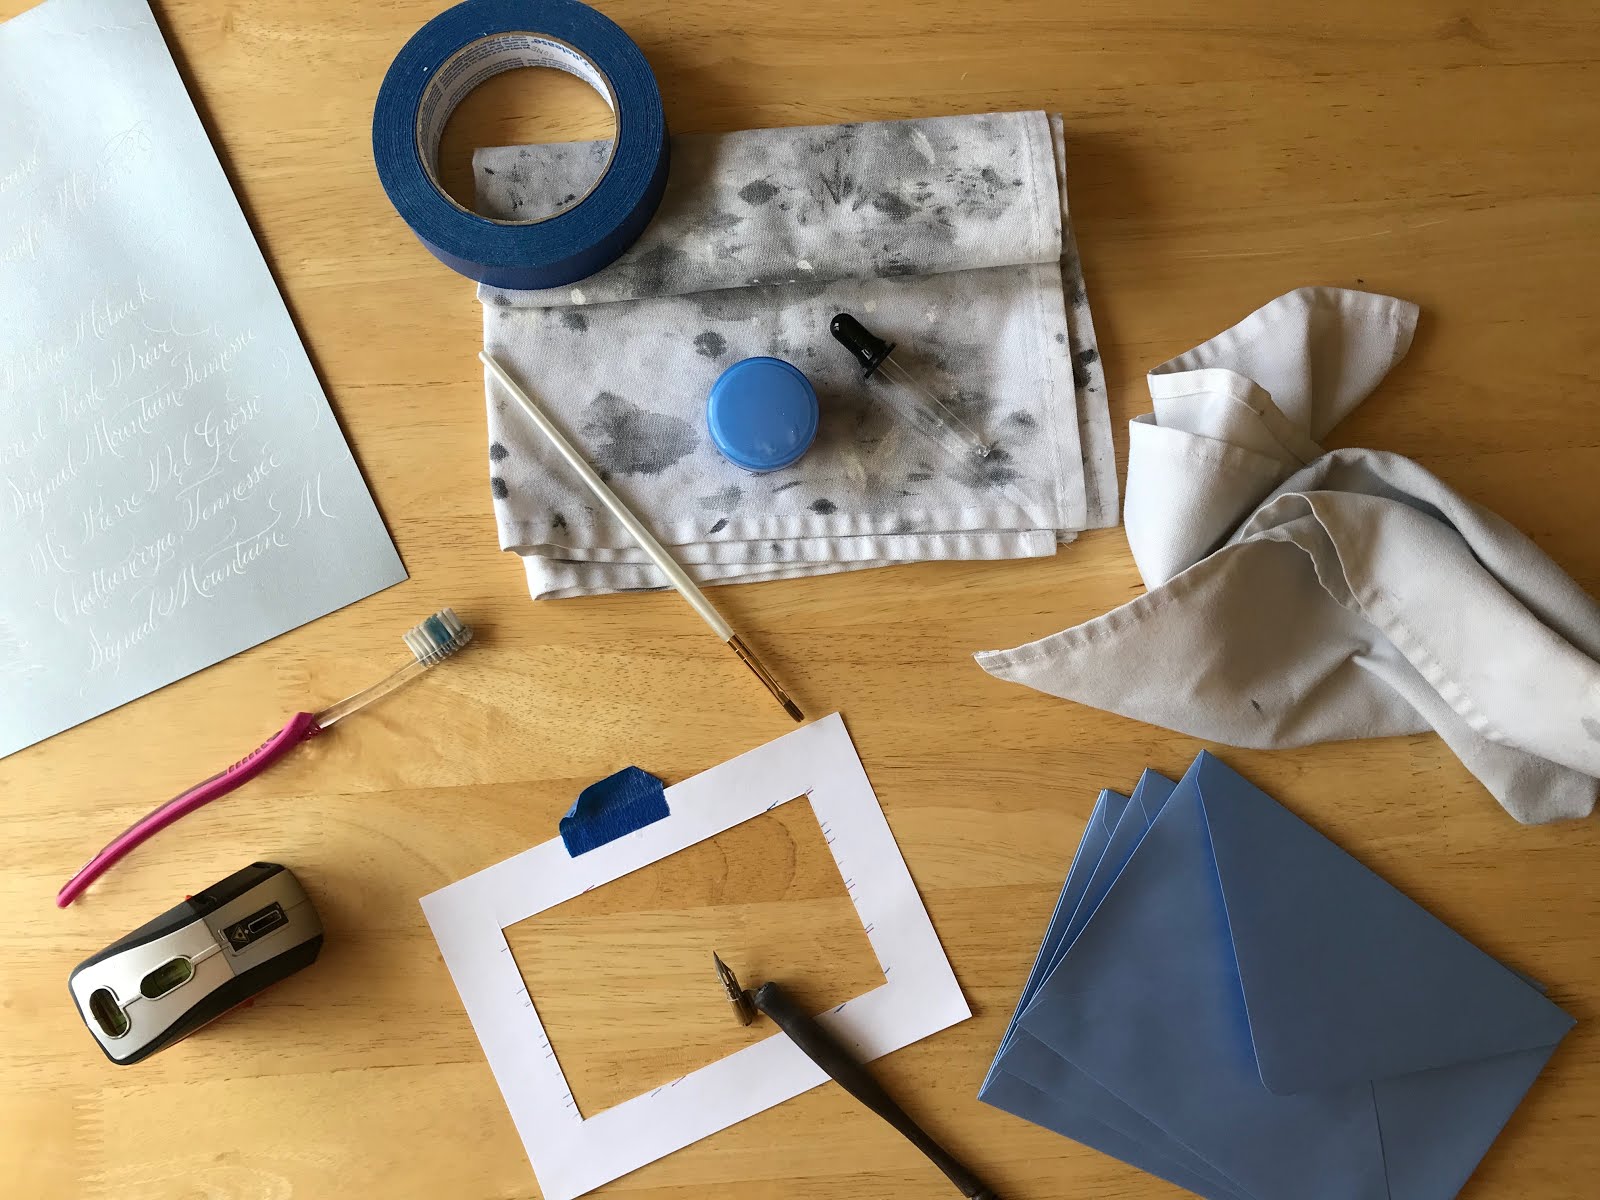
With my final files completed, I gathered supplies for the design of my dreams!!
I finished up the final components of our suite: spacing everything out just so, creating a sketch of our venue as embellishment for one of the cards, and creating a clever multiple-choice option for our RSVP cards! After all of that, I sent my design off to the printer!
Upon receiving my prints with great joy, I got to slicing and scoring all of the cards...

And began the process of embossing our invitations. It was truly a handcrafted, small batch job... I might even be tempted to label it "artisan." I decided to emboss the major design components of the invitation itself in silver.

The crests were fairly easy to emboss...

...but the names proved much more challenging. There were so many components of the process that could so easily go wrong, I ended up crafting several that just wouldn't do to send out to guests.

In the end I got the job done and was so proud of the result!
ALL THE WHILE, as I was working on the invitations themselves, I was hard at work on addressing each envelope with great care. I decided to challenge myself with a flourishing script that was slightly askew on the envelope itself!
I have always LOVED the look of white ink on a light blue envelope, and since our wedding accent color is both slate blue and sky blue I decided to try to find something to match this theme. I found a beautiful metallic blue envelope that looks slate blue in shadow and sky blue in the light... perfect! The smooth finish made it really easy to create smooth, sweeping flourishes, which I could just STARE at for hours!!

Setting a schedule for myself to tackle at least two envelopes a day (they each took at least fifteen minutes to complete... did I say at least?), in my eagerness I ended up completing the task more than a week ahead of what I had planned! I think I was so daunted by the finality of the task initially, but once I fell into a rhythm working on the envelopes was really something I came to enjoy and look forward to.

From there, I used our trusty return address stamp (which I designed just before I sent out our save the dates) to mark each of the envelope flaps.

Then came stuffing the envelopes, sealing them, and adding the final, exciting embellishment: a custom-made wax seal! I used a version of our wedding crest / monogram to get this brass seal engraved and then purchased silver wax to add a bit of luxuriousness to the look of the envelopes as the icing on the cake!

I was so enthralled by how beautiful the seals were! The warm, melted wax oozing onto the envelope... the squish of the seal sinking into the wax... the pause in anticipation as I waited for the wax to cool... and then the gentle peel away, lifting the seal from the page and admiring the imprint with joy!

Ok now you can really tell that I'm a total stationary nerd!
I found some floral postage stamps and rushed to the post office. I hand cancelled each envelope so they wouldn't be damaged being run through a machine and walked away with a sense of accomplishment and glee.

I couldn't be happier with what I've come up with and can't wait to incorporate these special design details into our wedding day!! I've received with joy so many compliments on my hard work, and it really feels good to have tackled the whole task by myself. I've so enjoyed handcrafting every single one, and hope that each detail and consideration leaves each receiver feeling integral to our wedding day and to our life together. I hope these invitations serve as tangible souvenirs to happy memories made at our wedding this summer for years and years to come!